This post shows how to propagate a crested succulent.
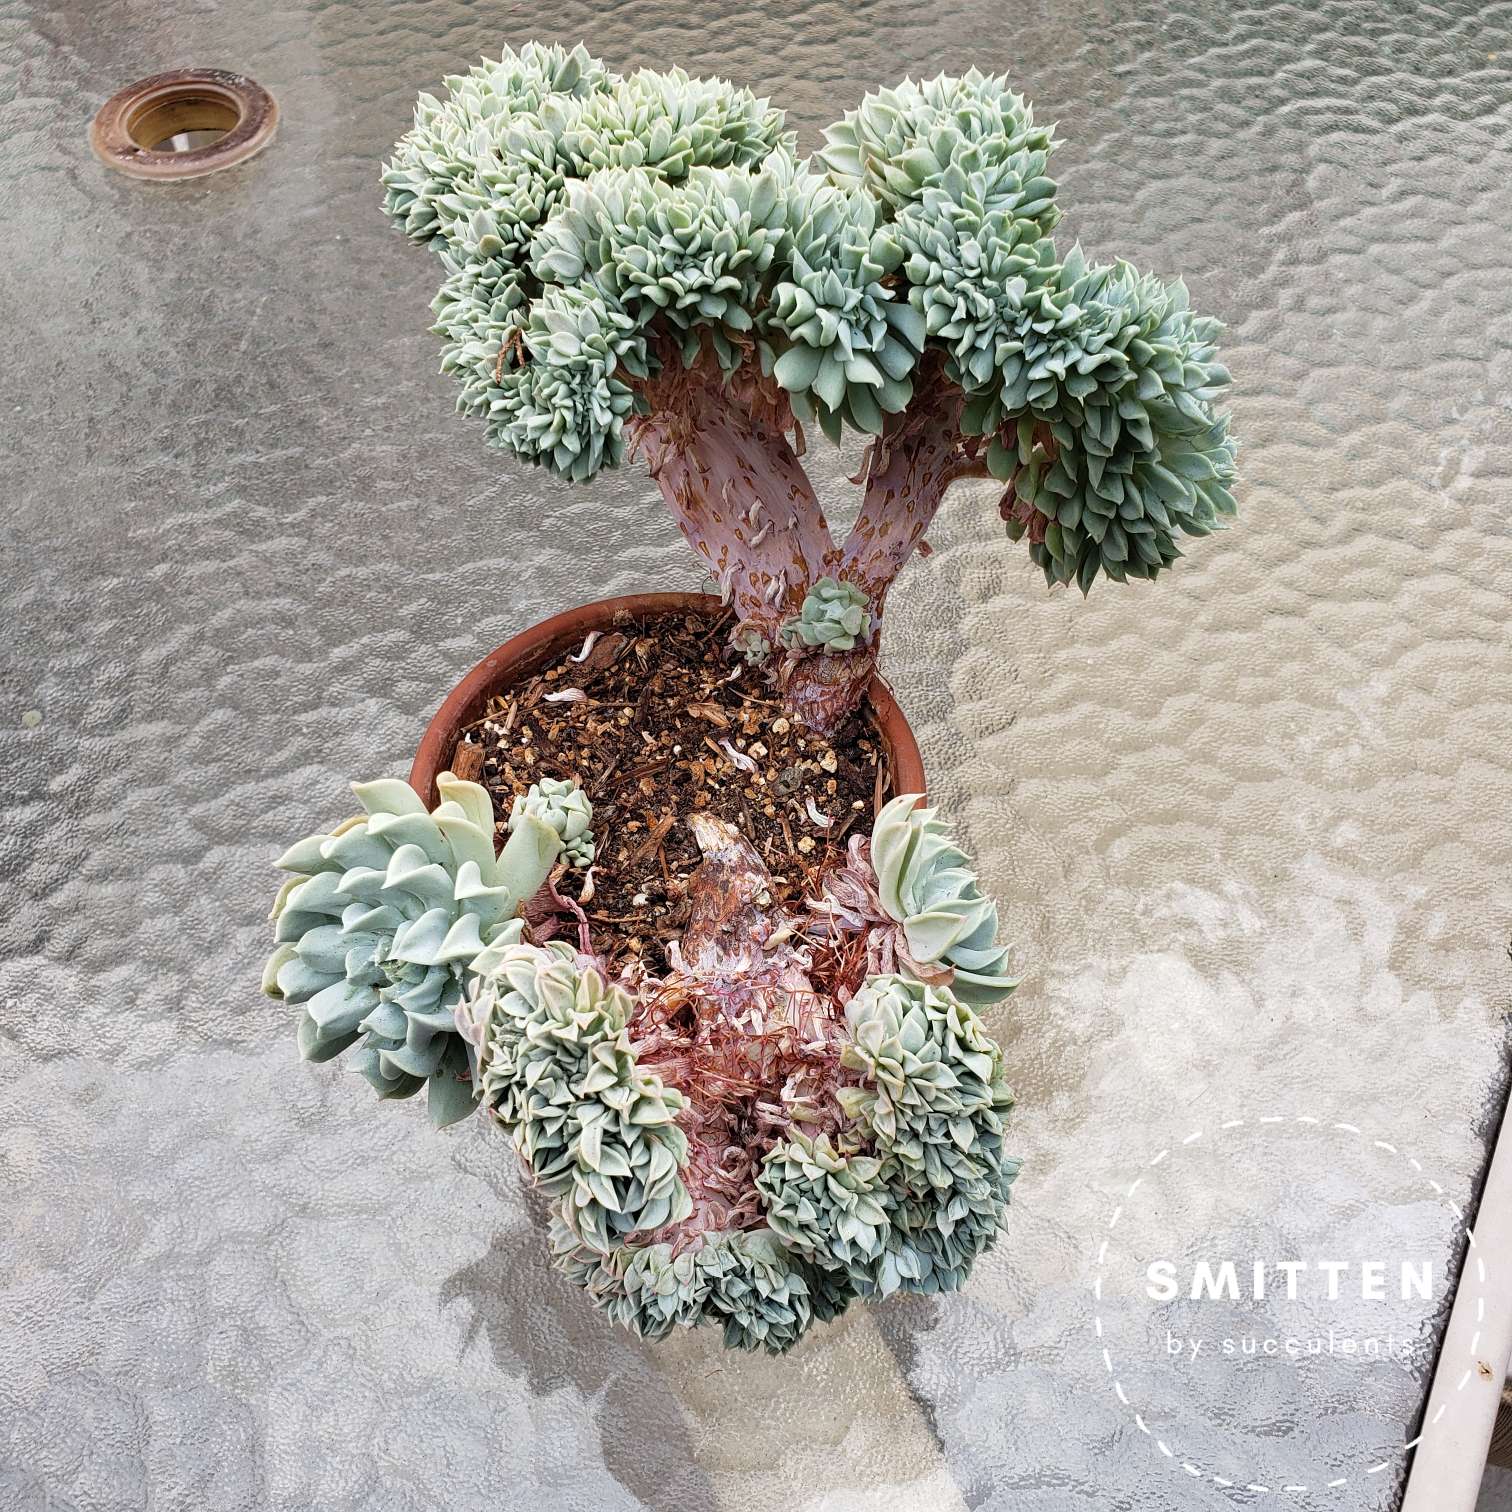
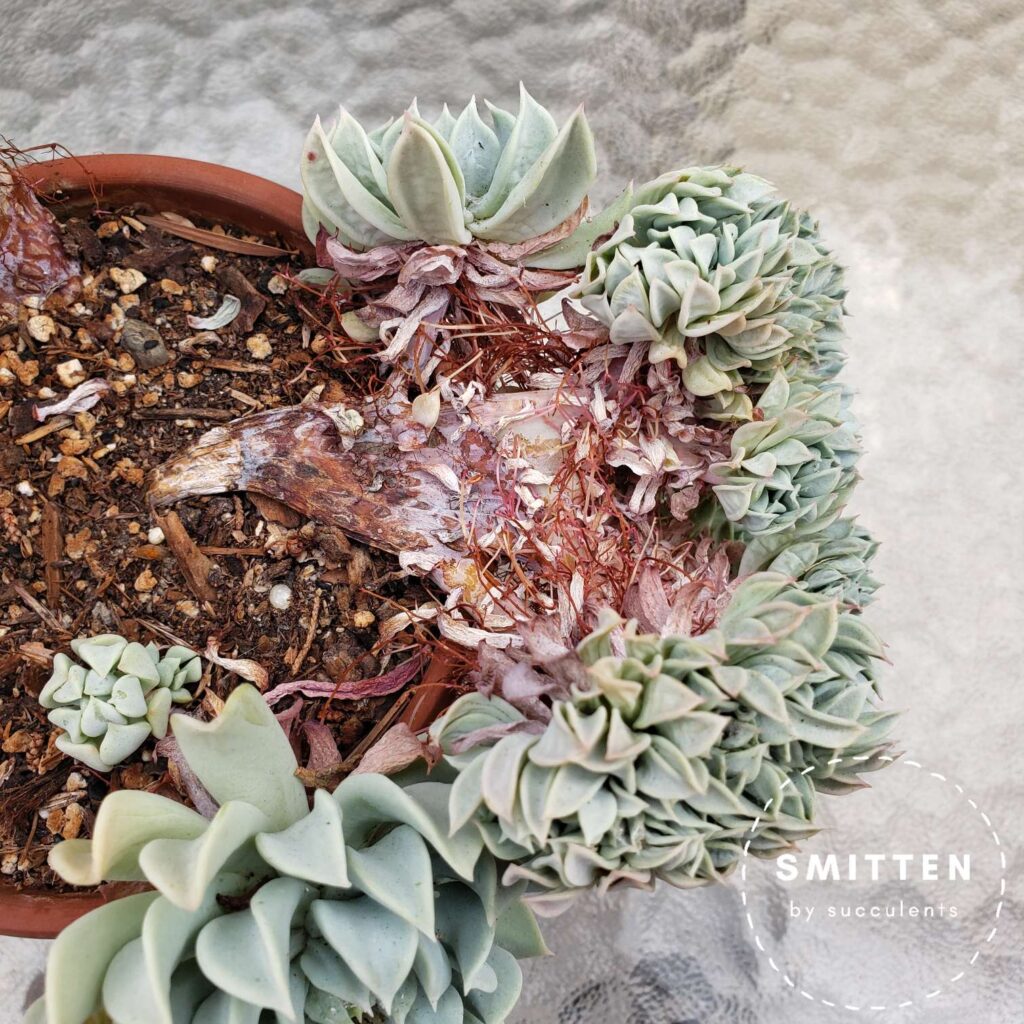
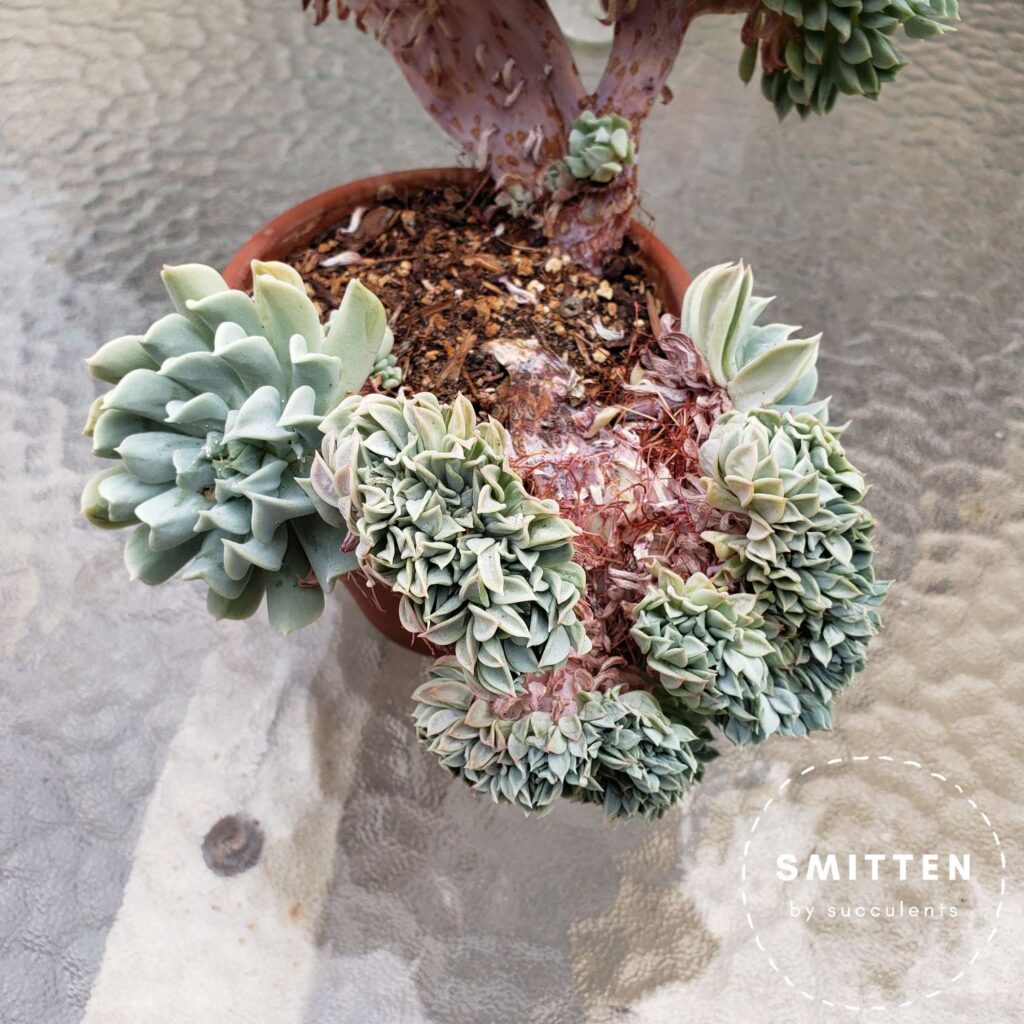
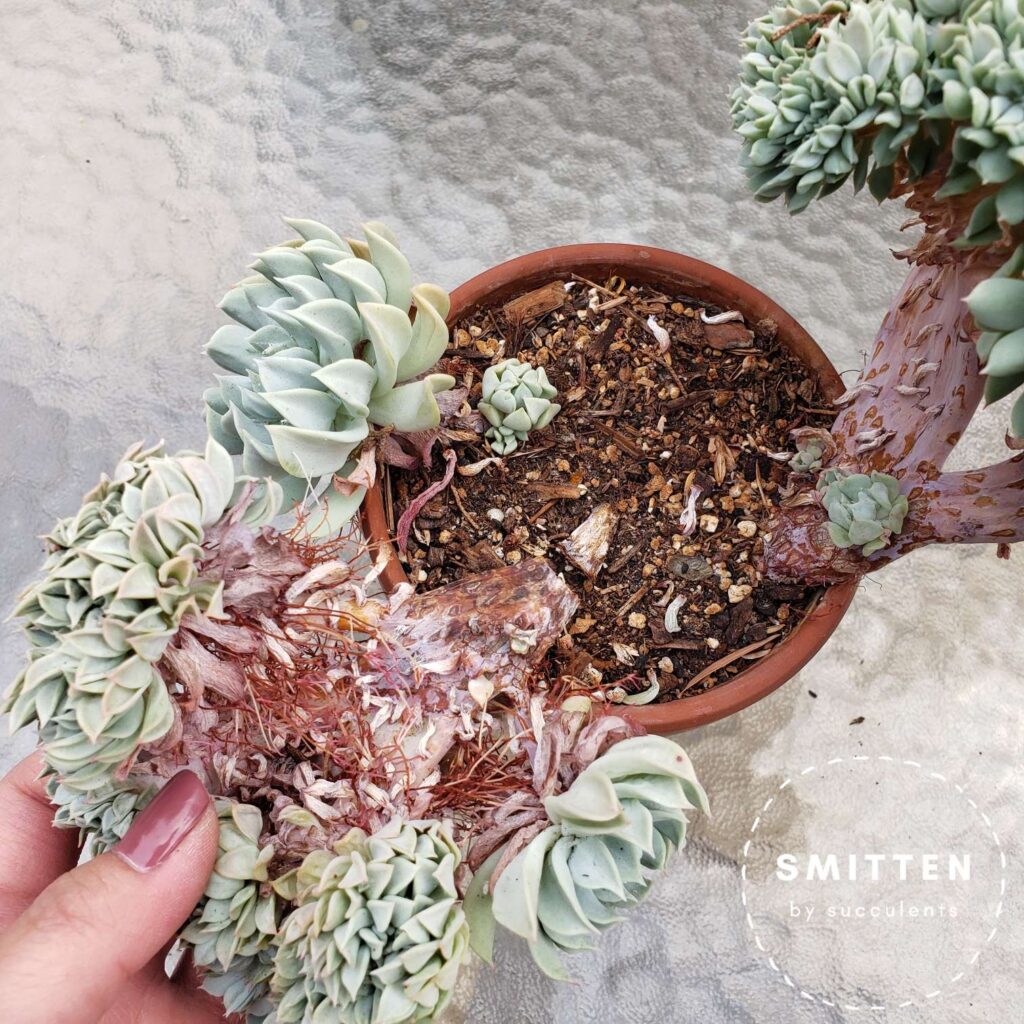
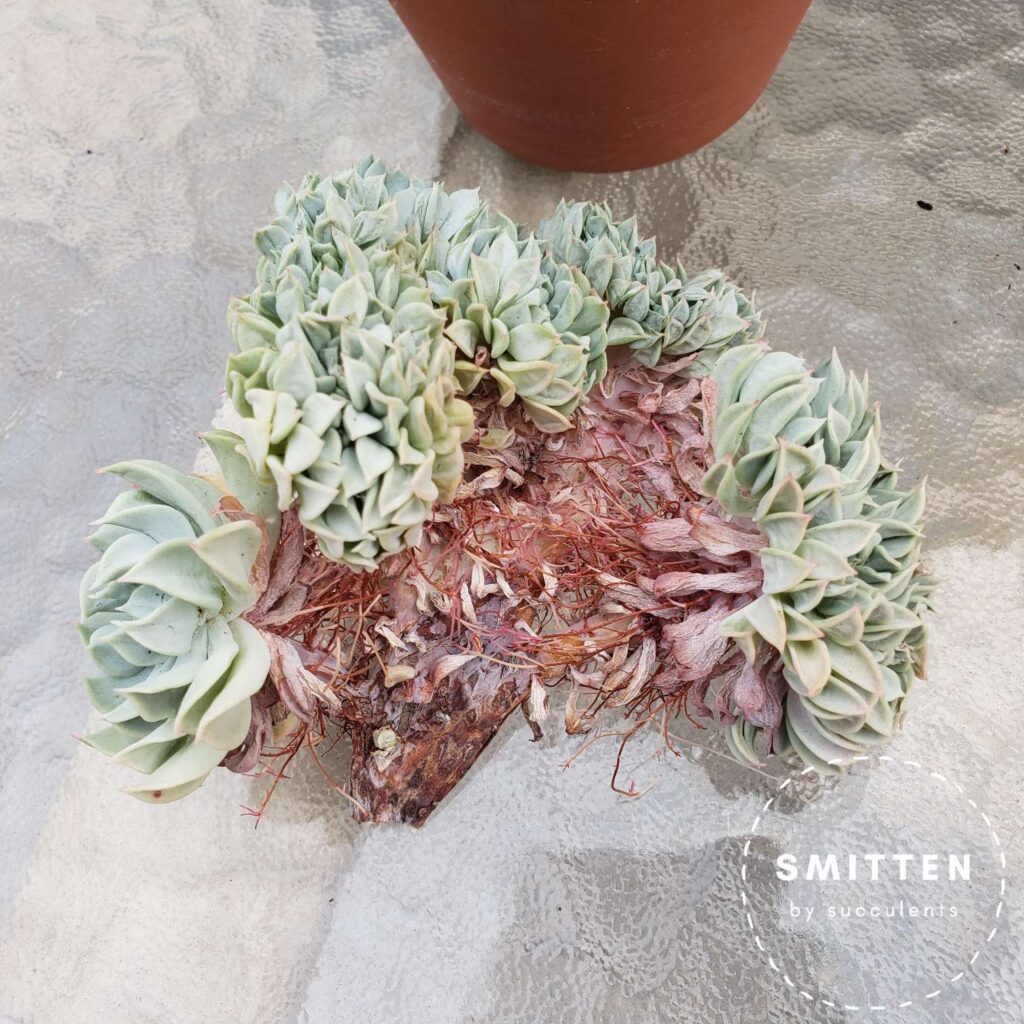
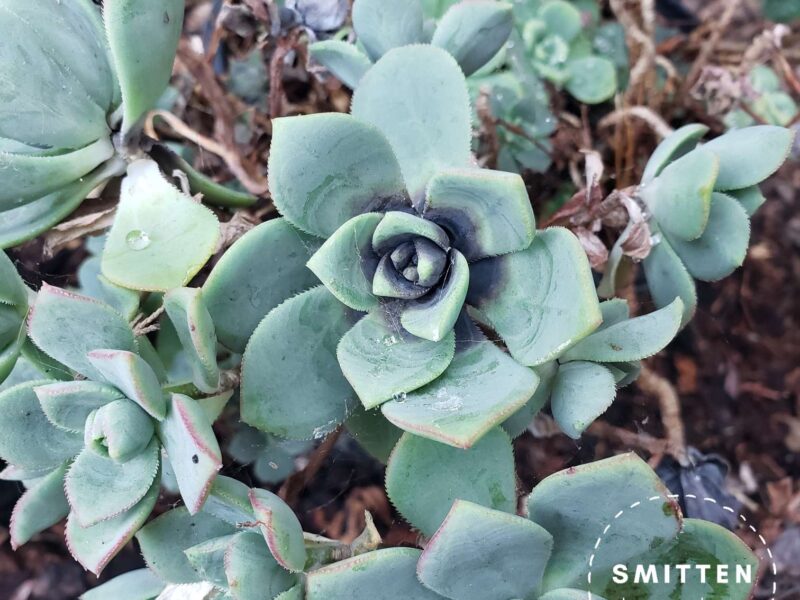
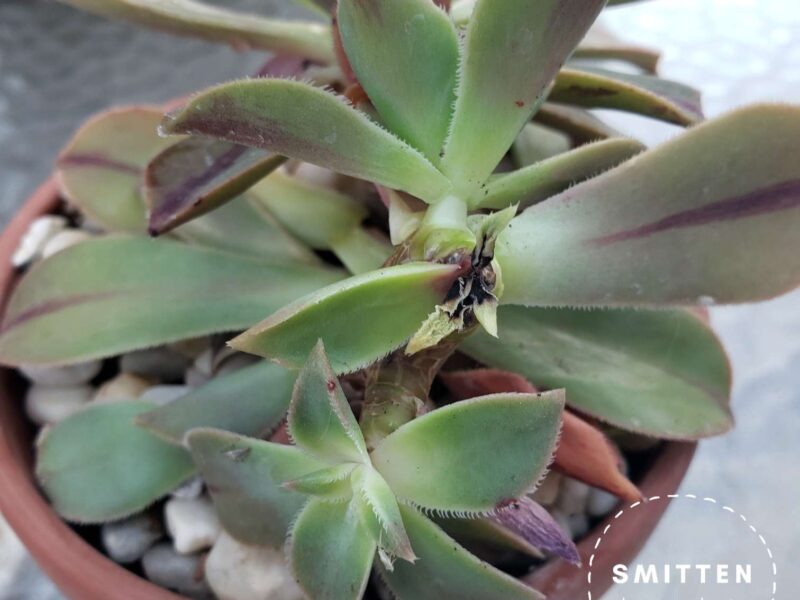
In the photo, I have 2 crested Echeveria runyonii ‘Topsy Turvy’ planted together. The one laying on its side got badly sunburned. The sunburn damaged the plants midsection, so the top of the plant cannot get water or nutrients from its roots. To improve its health, I want to take a cutting and propagate it.
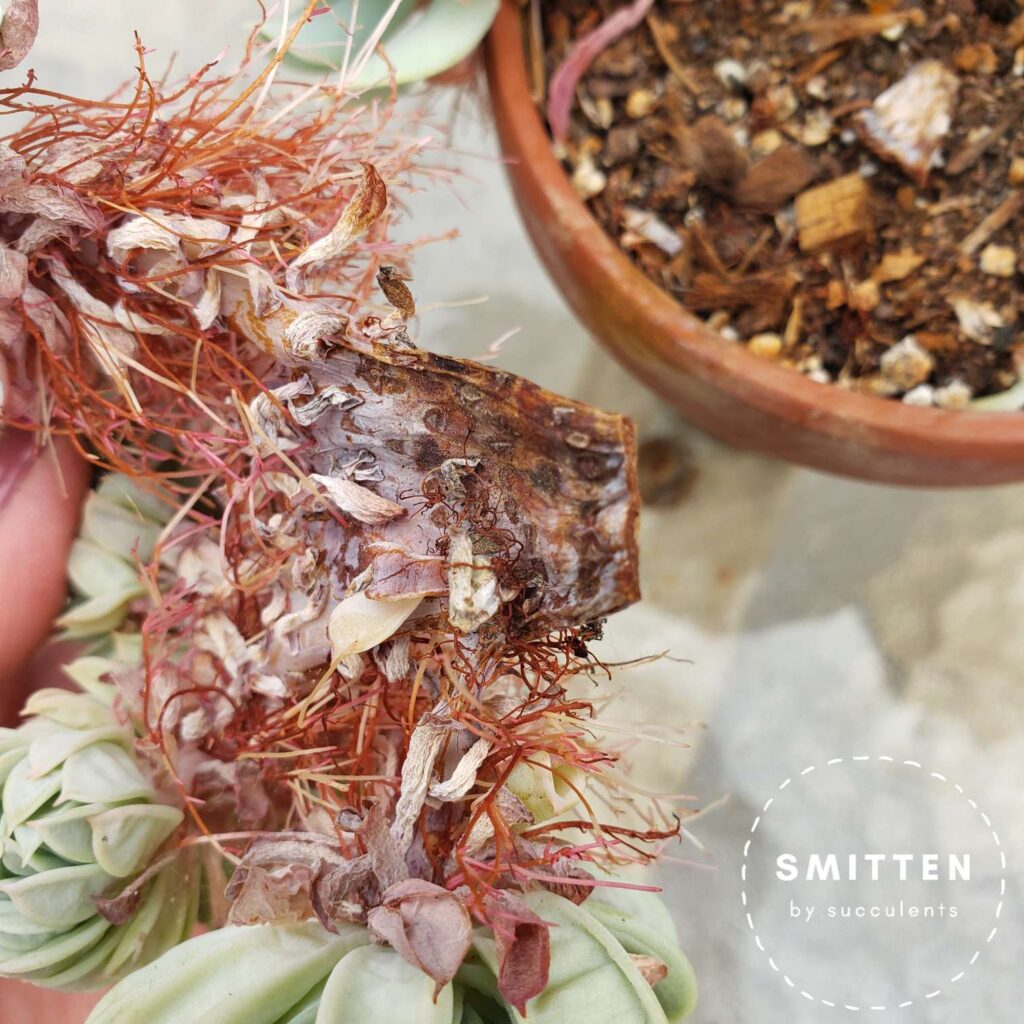
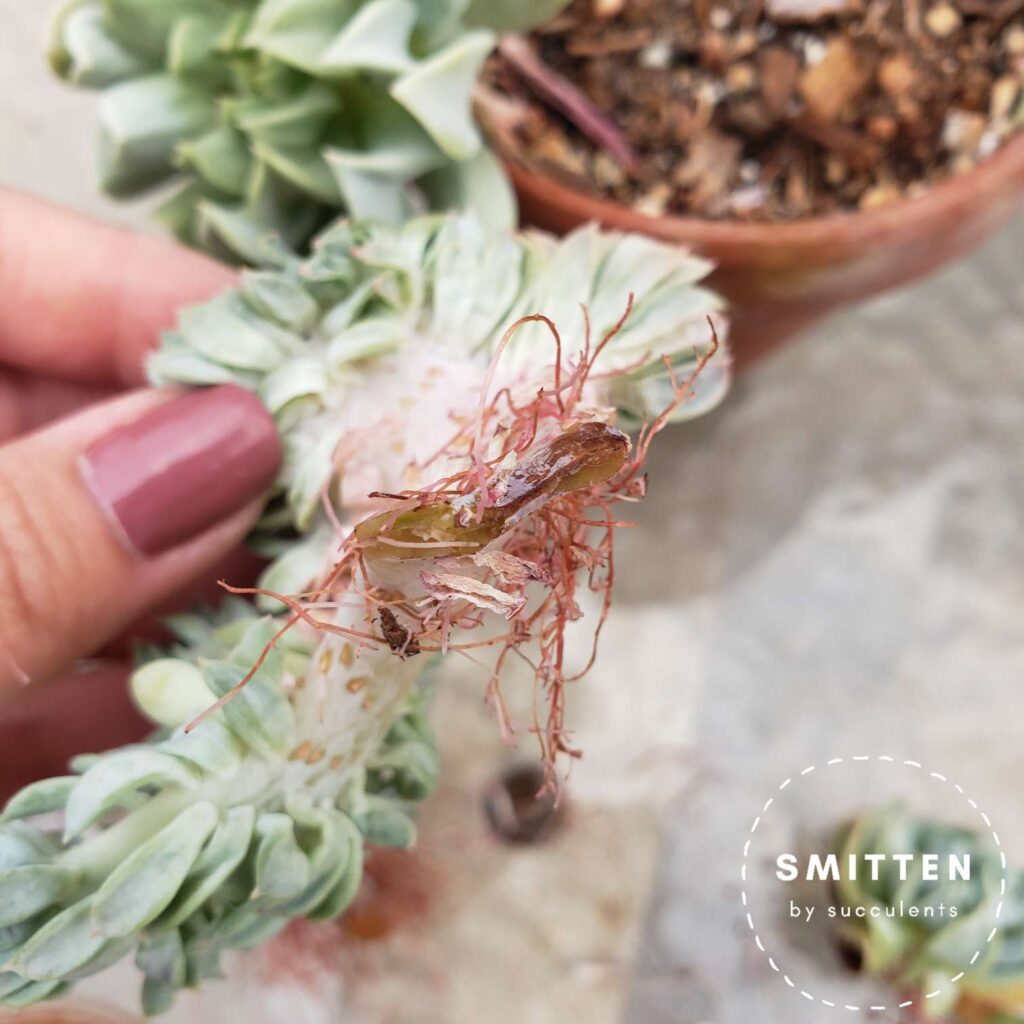
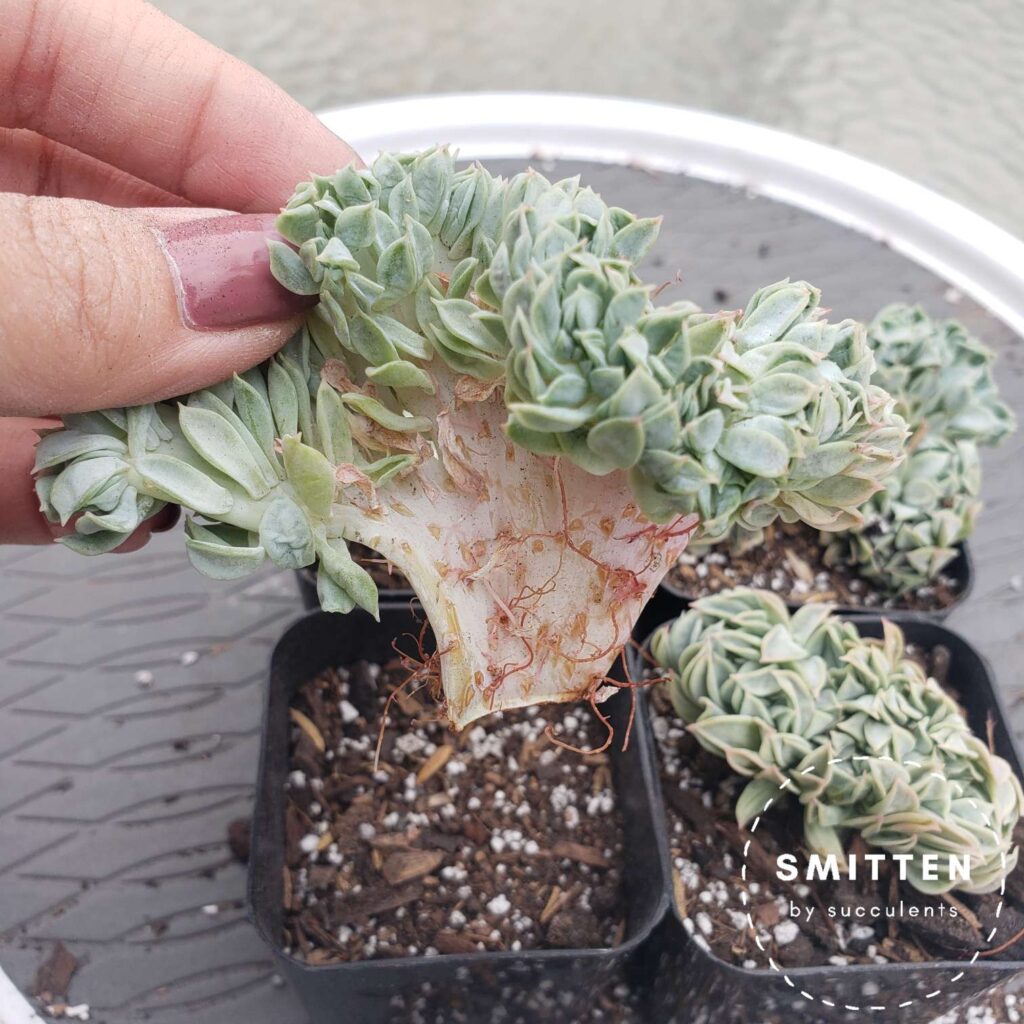
You can see that the exposed midsection is blackened and burned. This isn’t rot as the blackness hasn’t grown. The top of the plant has started growing aerial roots to collect moisture. It has reabsorbed lower leaves to sustain itself. The remaining leaves are thin and concave because they aren’t able to get enough water.
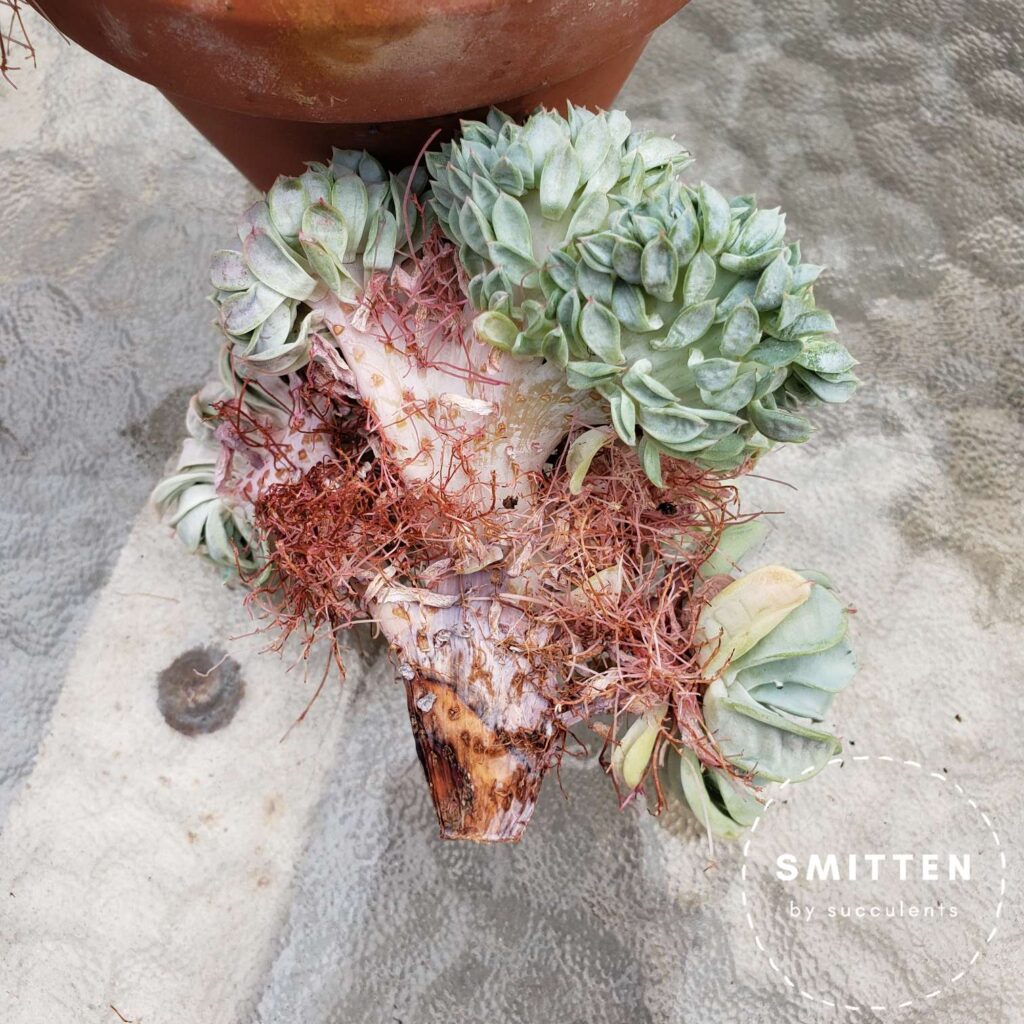
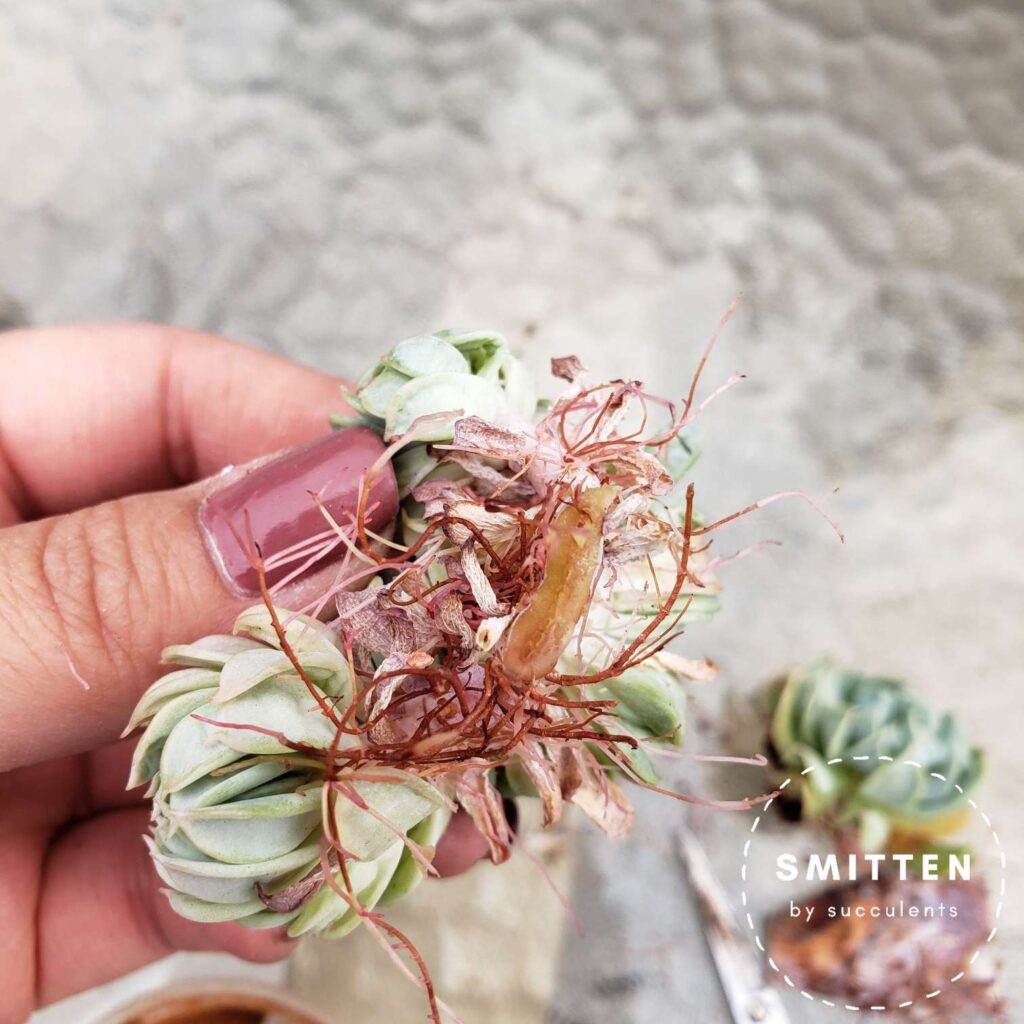
The first step is to cut the part I want to propagate. I cut the top half from its roots, so I could access the plant better. You can see the bottom of the cutting is dry and shriveled.
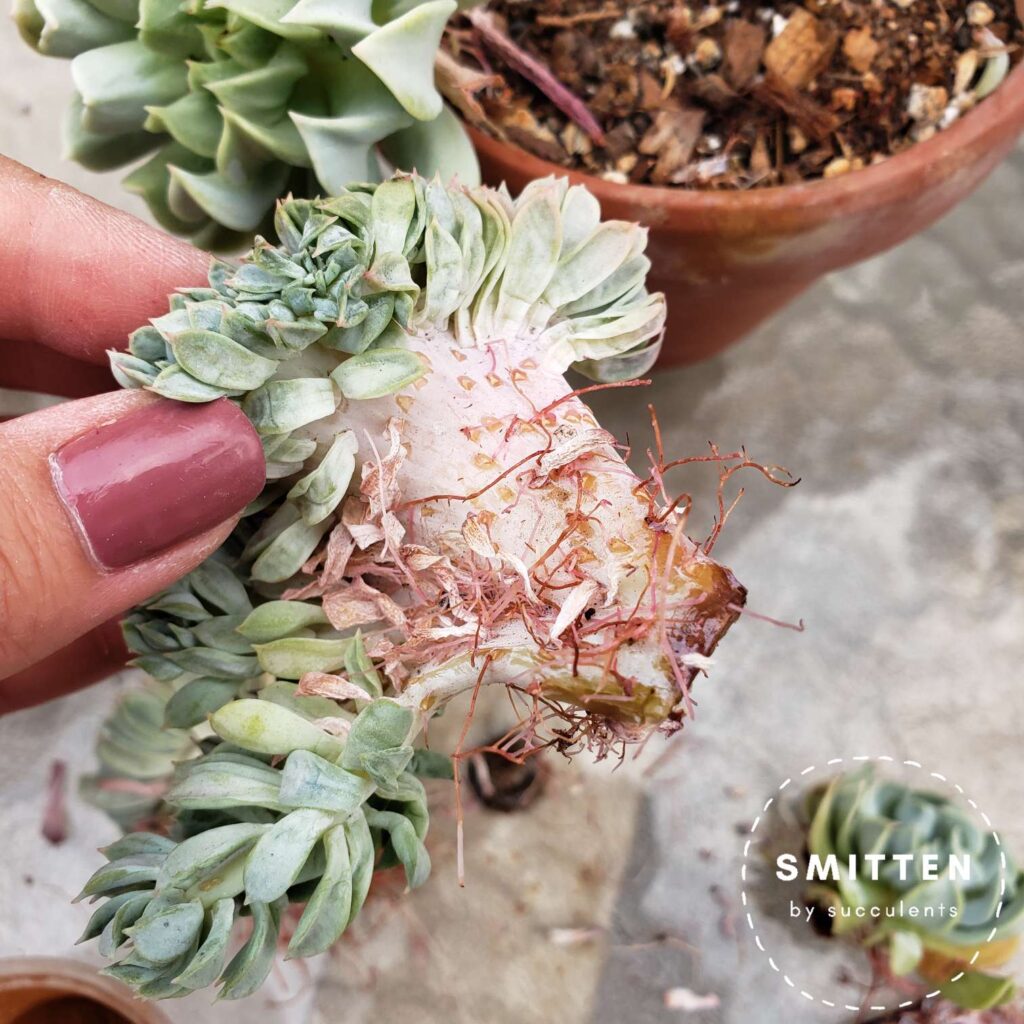
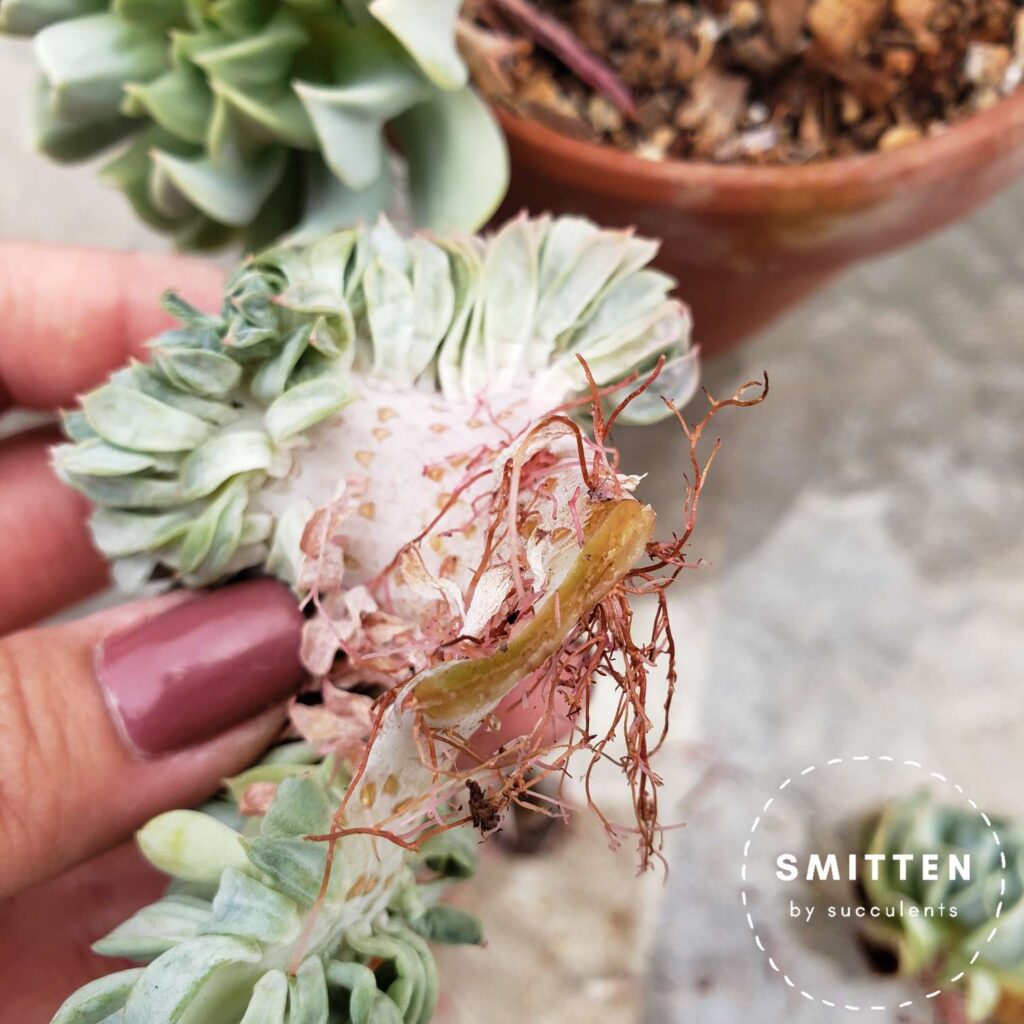
These photos are show the whole cutting. One photo is of the part that was facing up. The other photo is of the plant that was facing the soil.
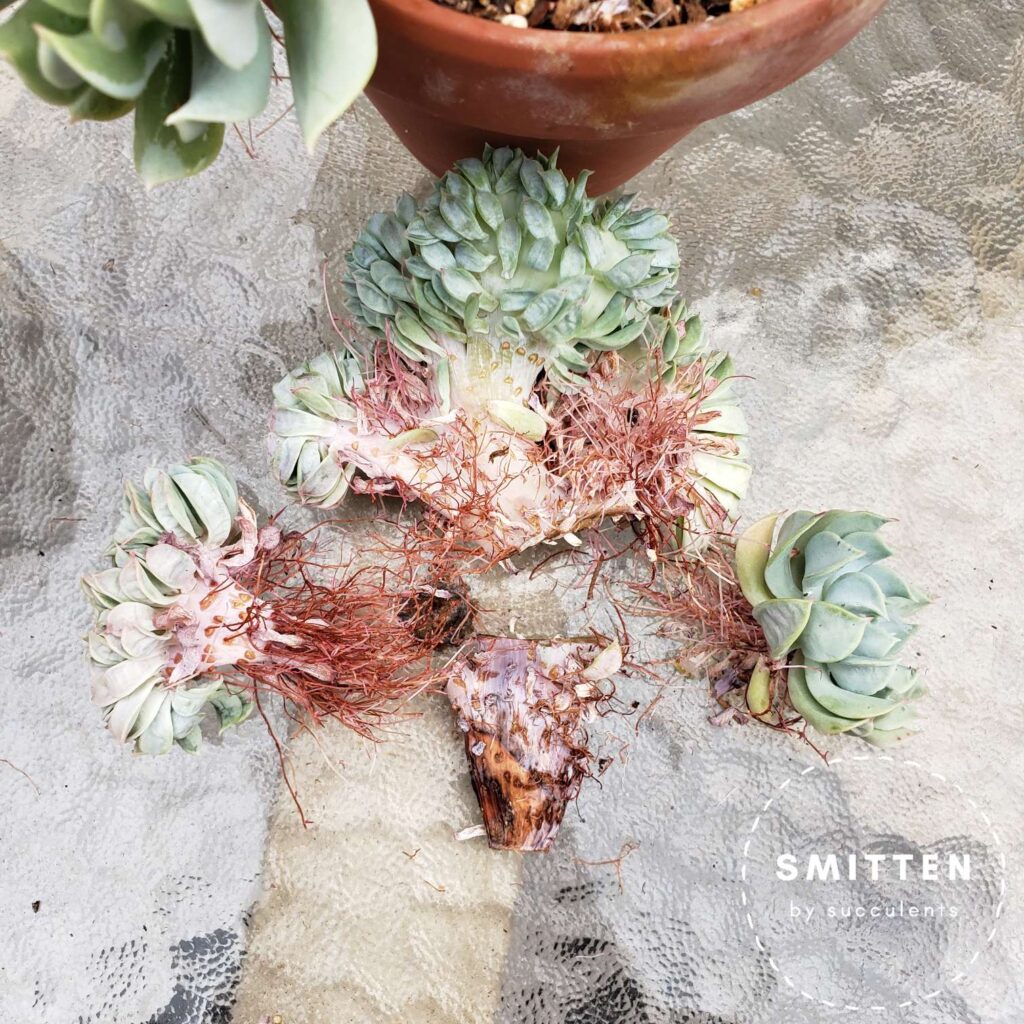
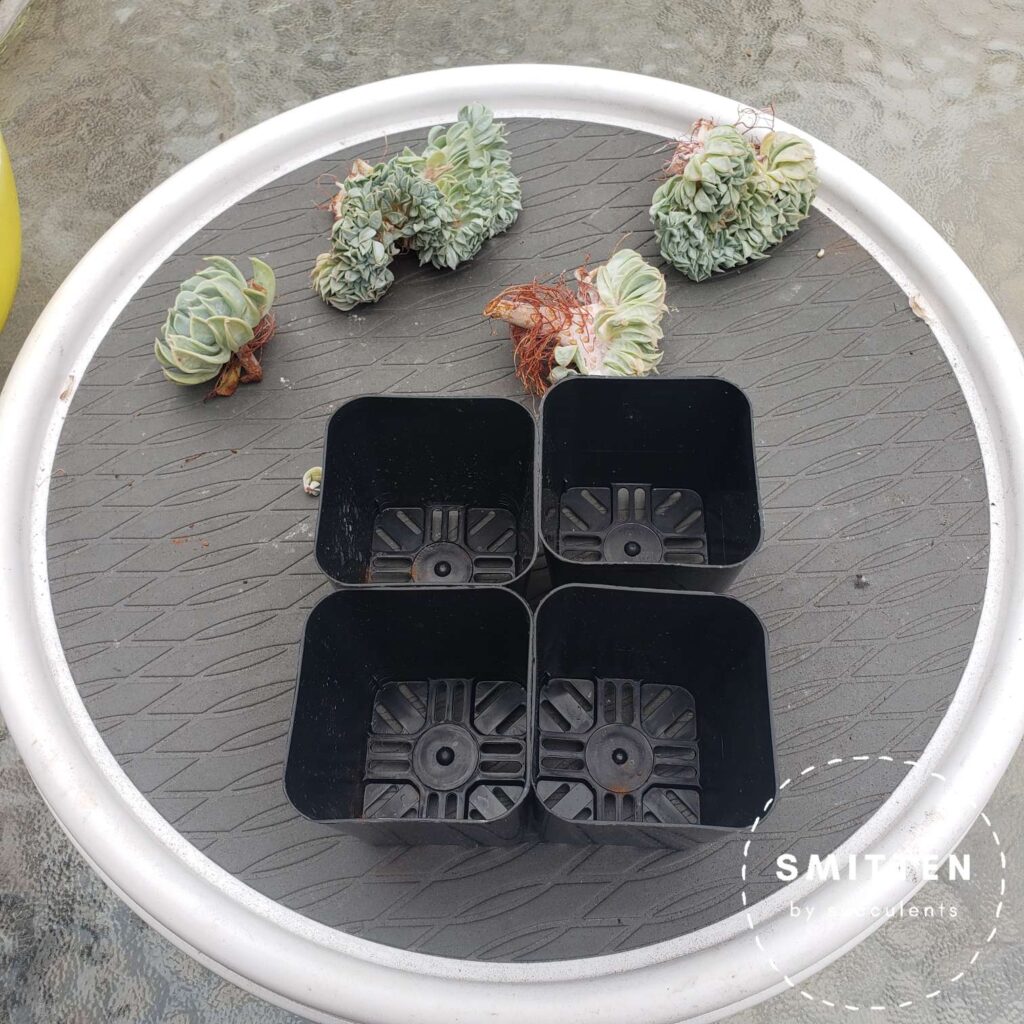
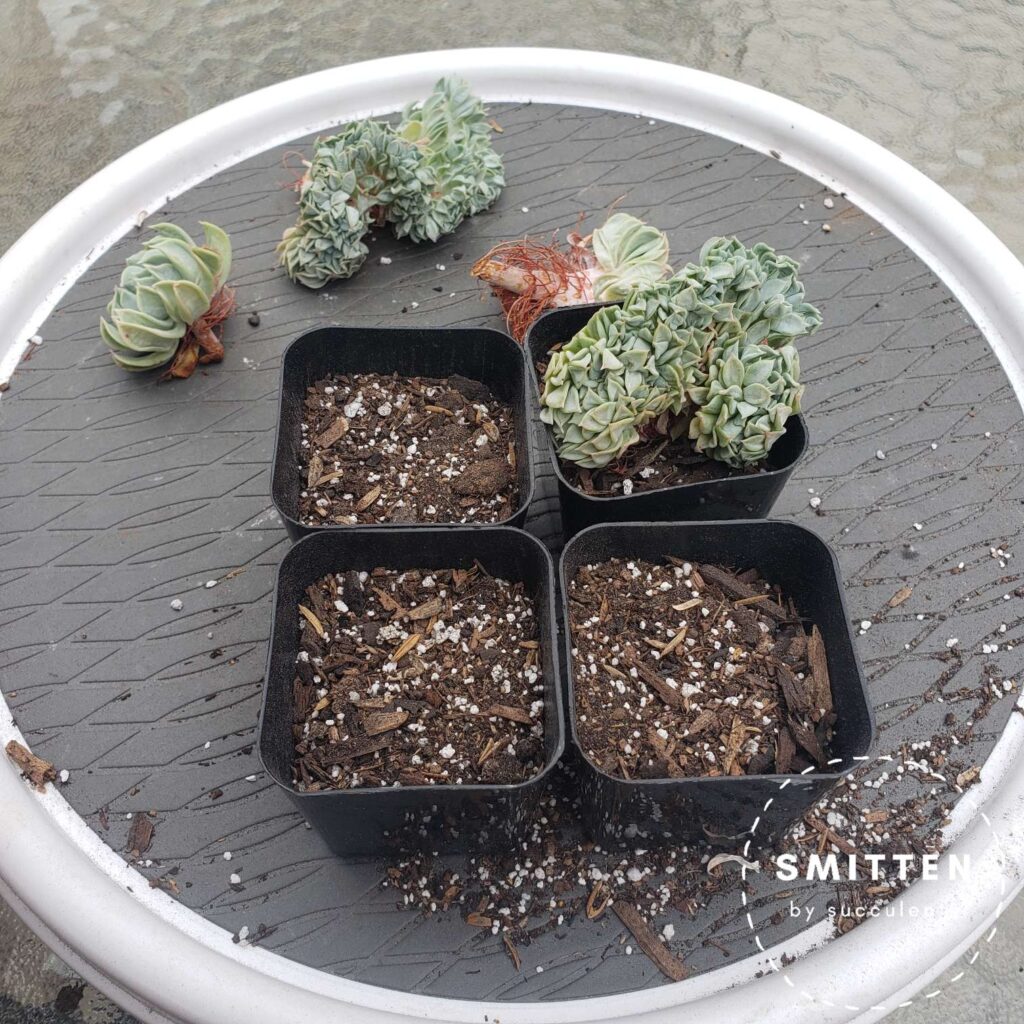
I decided that the plant would probably fare best if I cut it into multiple parts. So I cut it into 4 pieces. Each cutting has aerial roots.
The rightmost cutting is not crested.
I am throwing away the bottommost piece, which is sunburned.
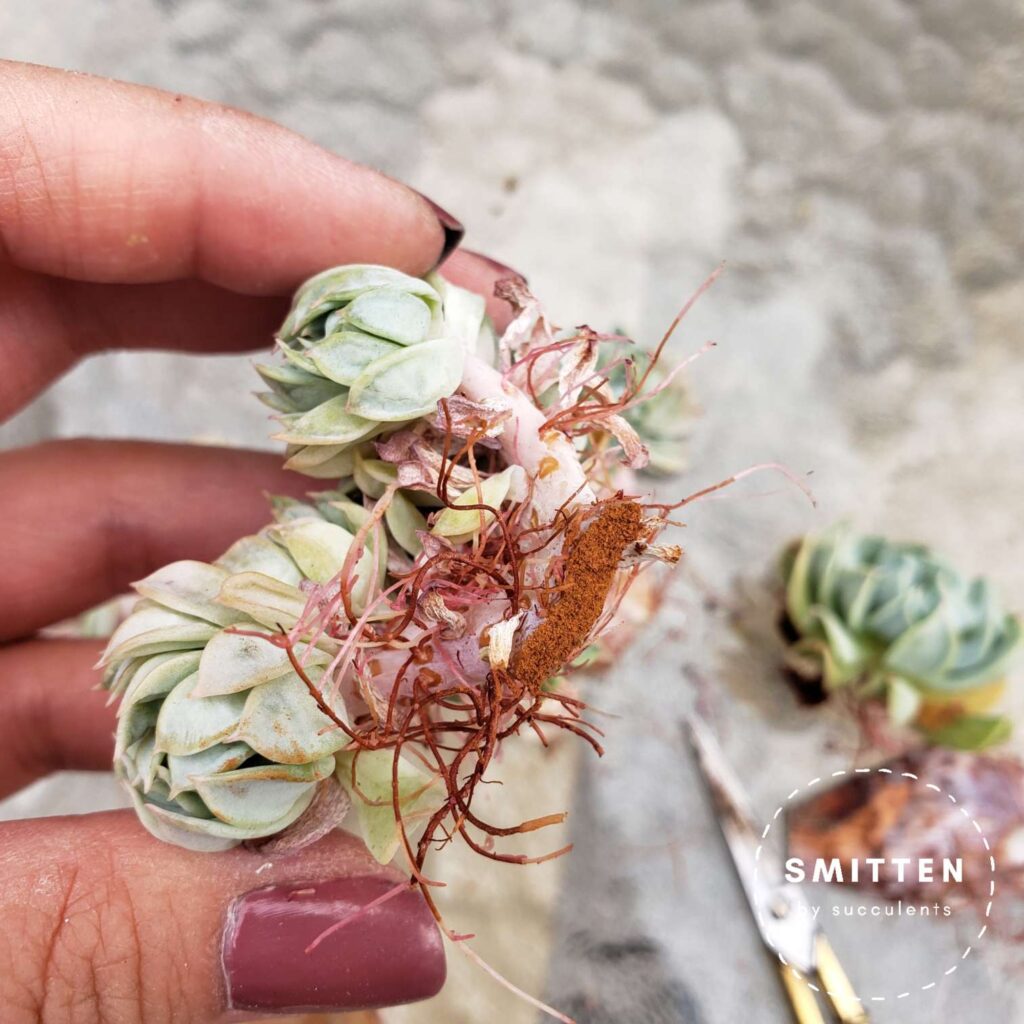
Next, I further refined my cuttings. Looking at the cut ends, I don’t want to see any blackness. If there is any black, I cut it off.
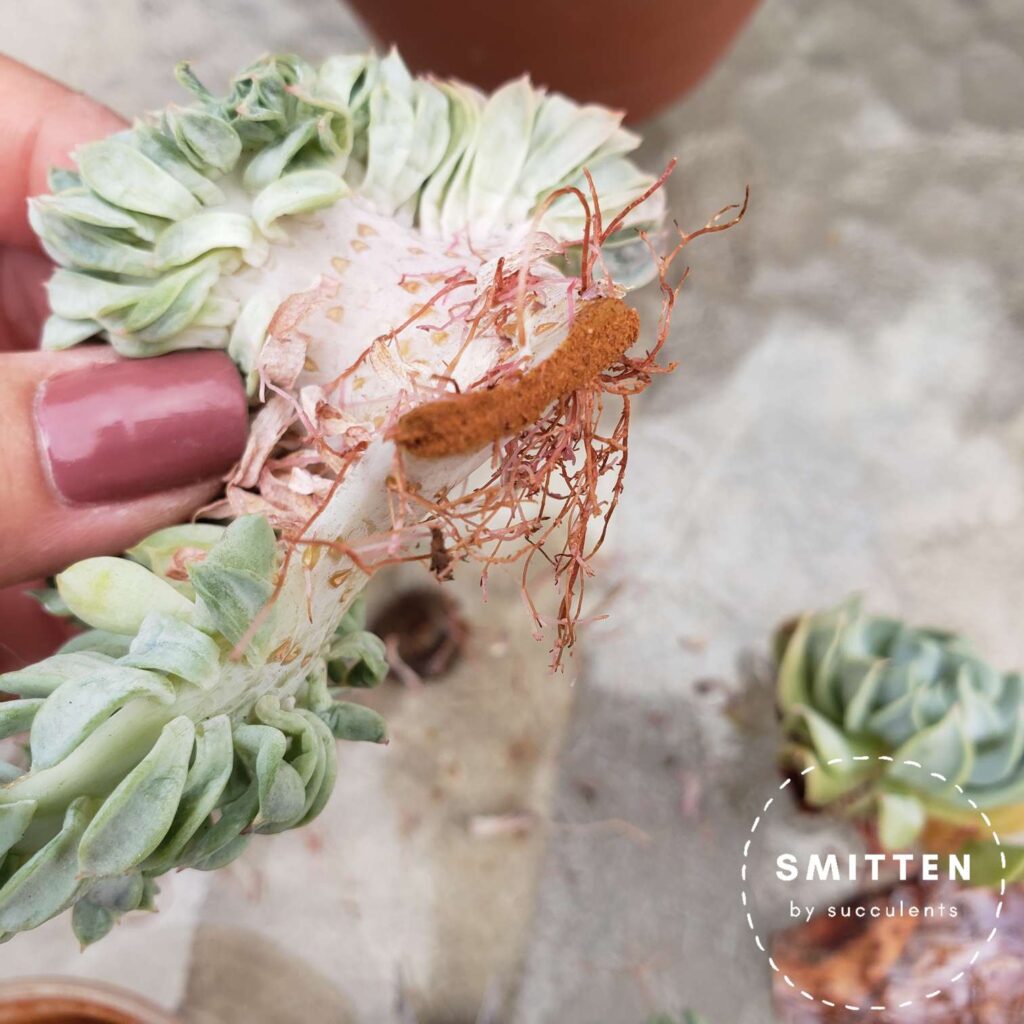
Once there is no more black, I dabbed the wound in cinnamon. The cinnamon covers the open wound like a bandage and helps prevent bacteria and fungus from entering the plant.
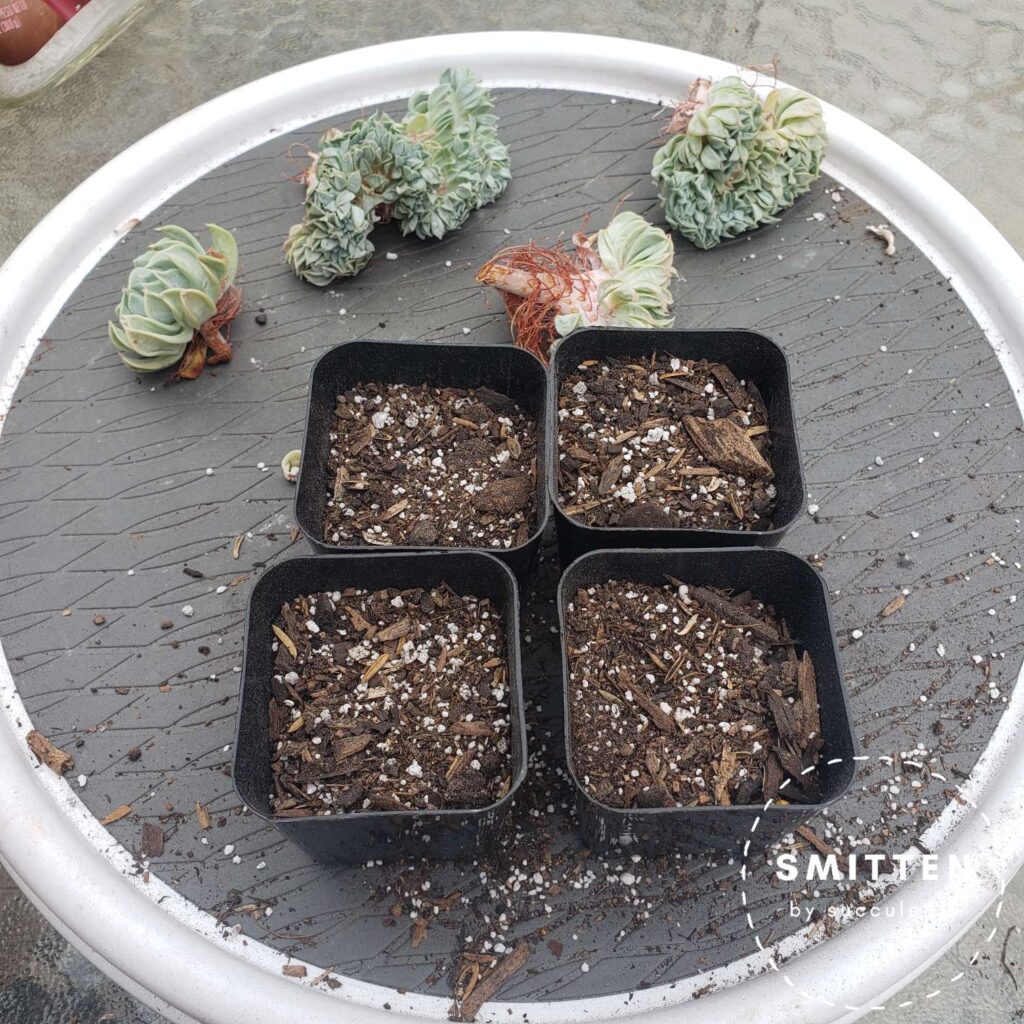
Next, I got 2″ containers, so that I can plant my cuttings. I filled each planter with dry soil, so that they are about 70% full.
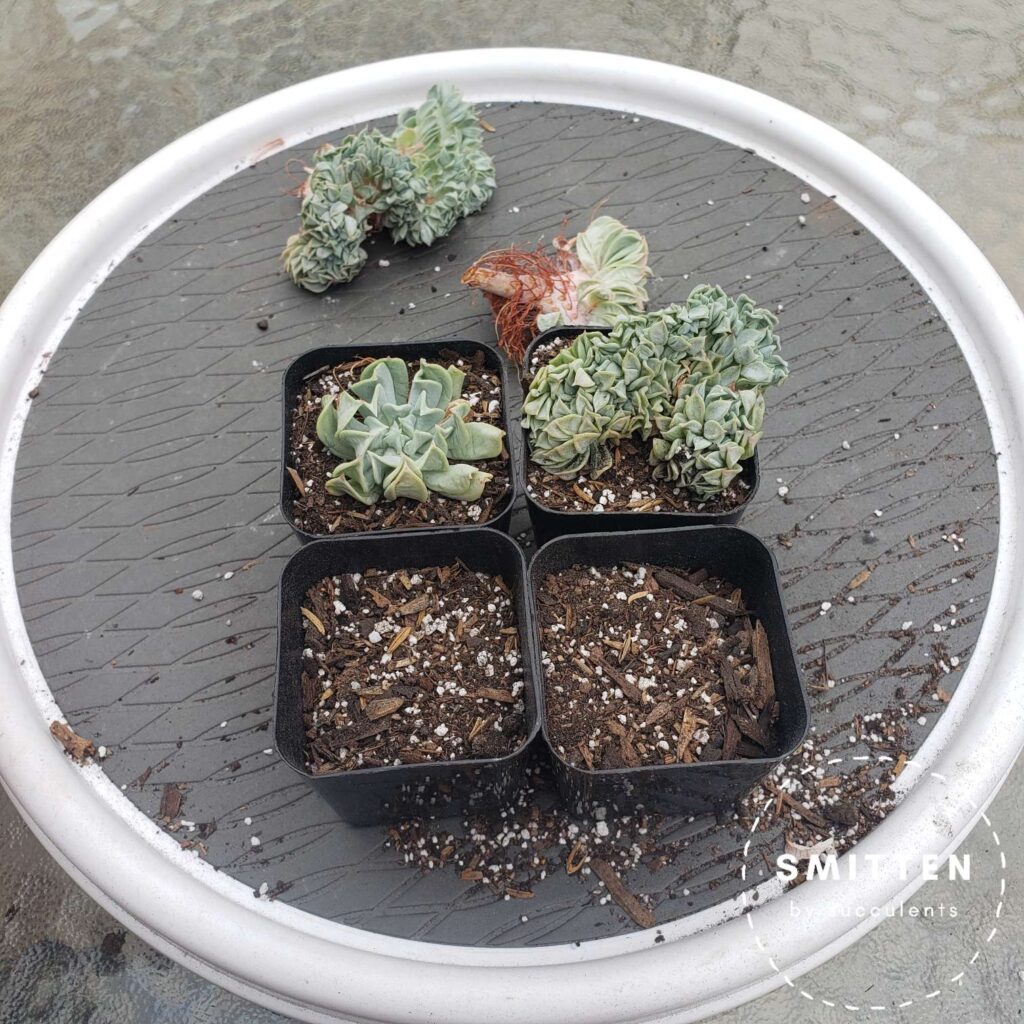
Then I stuck each cutting into the dry soil.
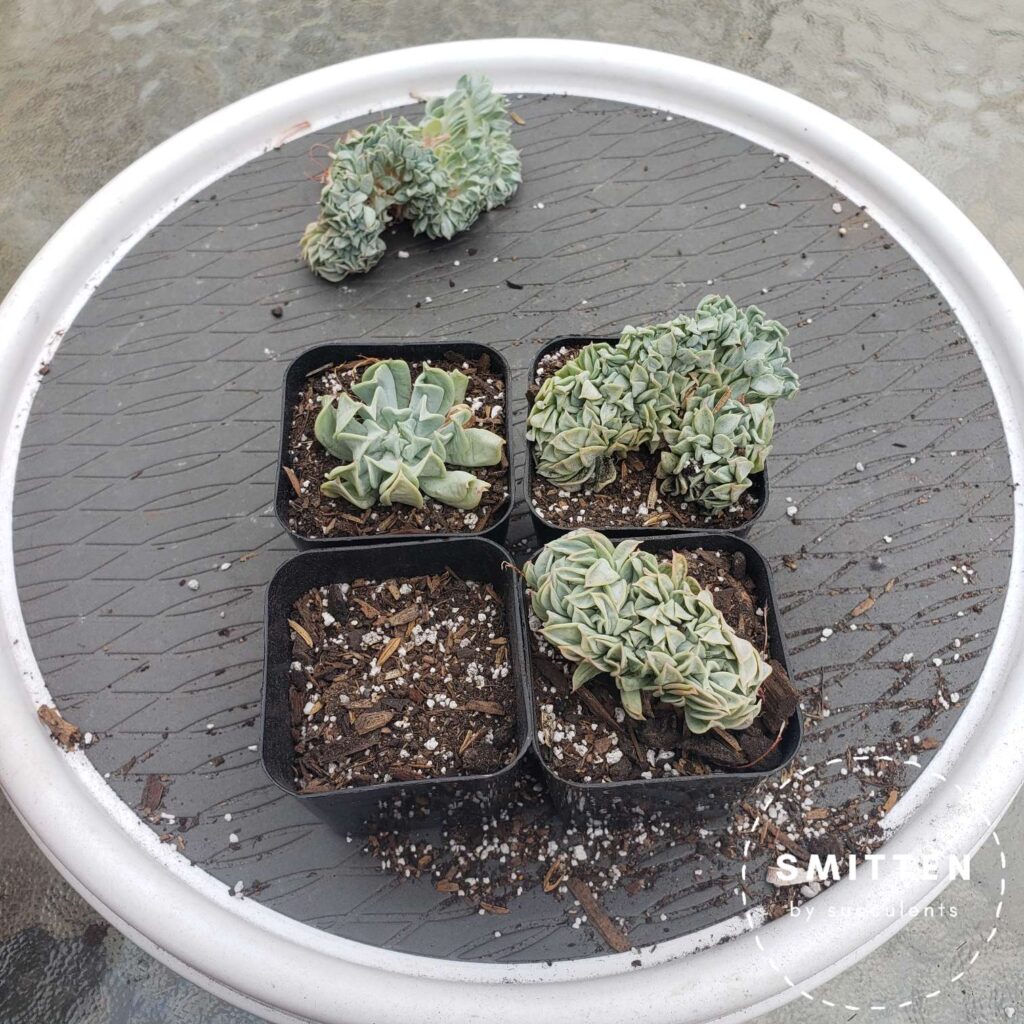
After sticking the cutting into the soil, I filled each pot with more soil, so the pot was about 90% full.
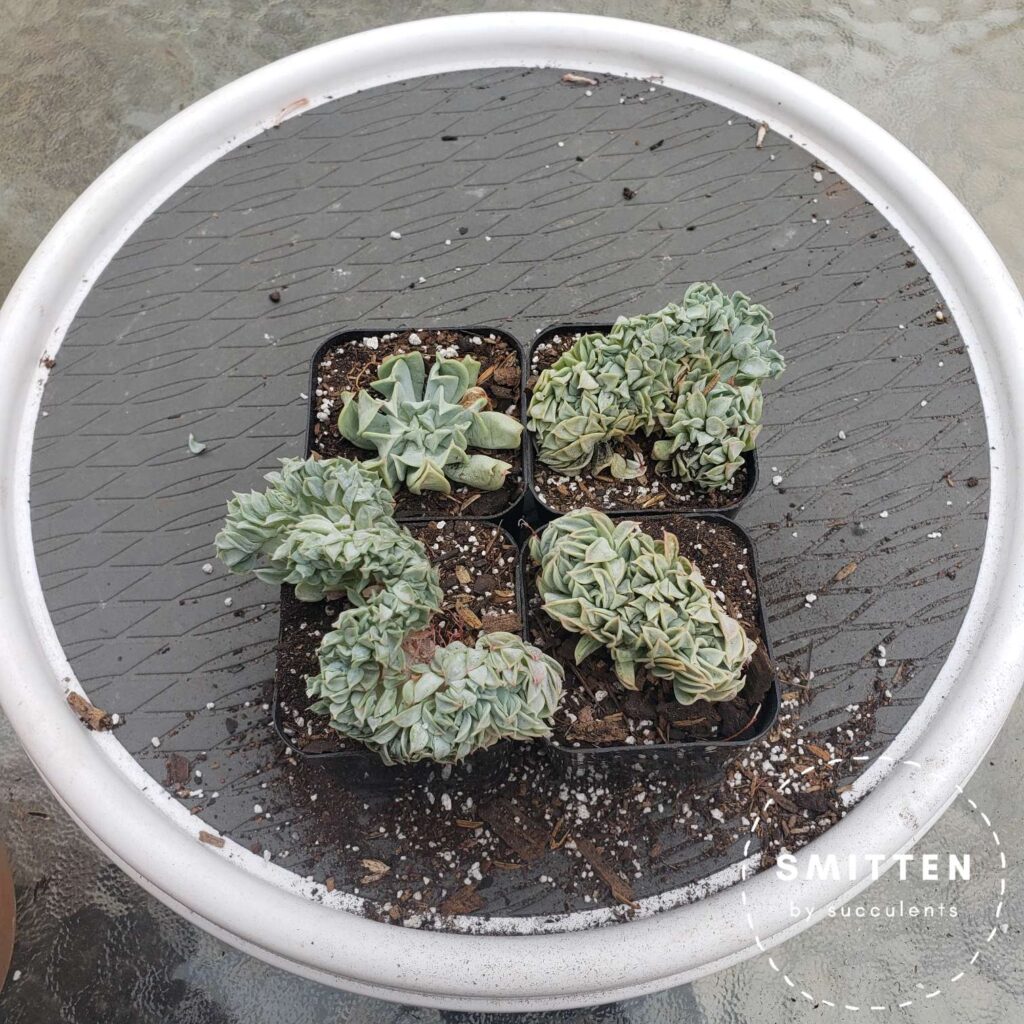
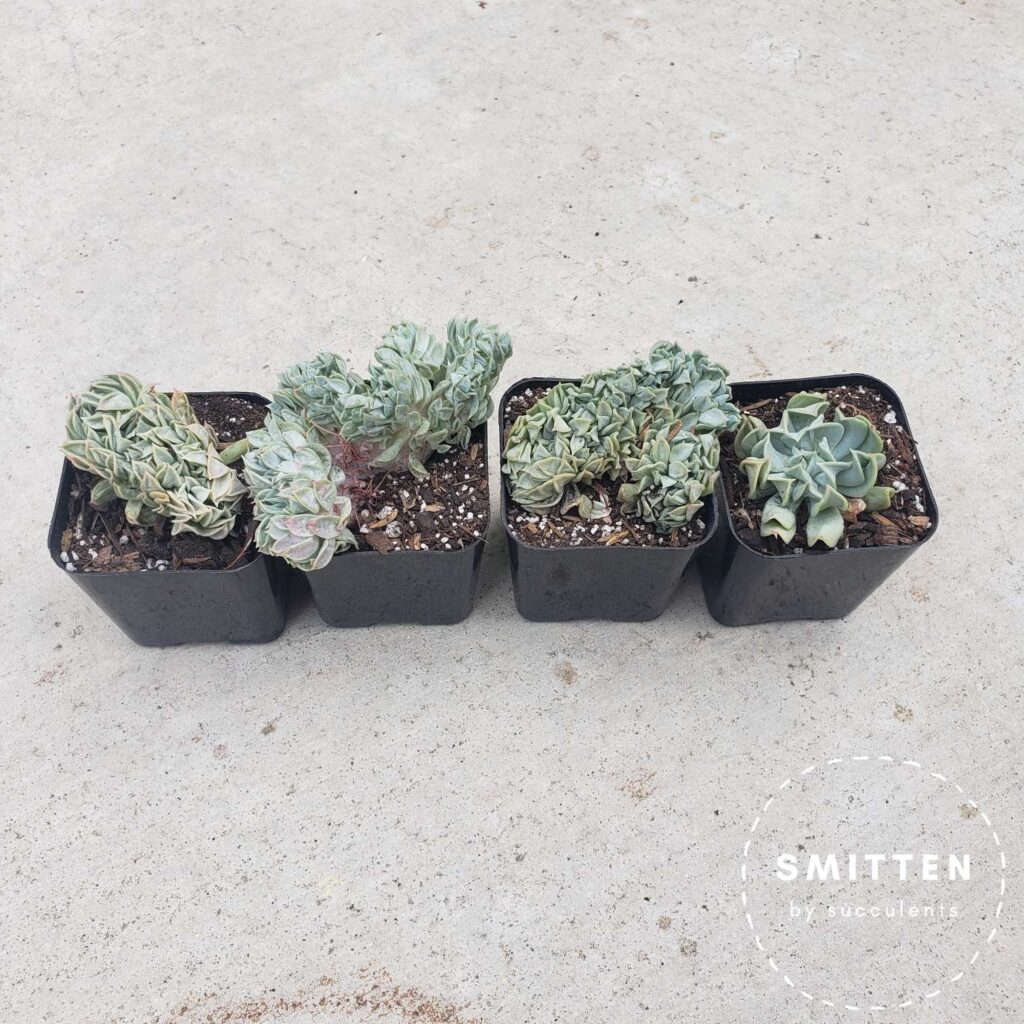
They are now potted. Even though the cuttings are thirsty and they have roots, I will not water them for about a week because I want to make sure their wounds scab over. The cuttings will continue to use their leaves for food. It’s better to let the plants be dry and thirsty to make sure they scab over than to get the wounds wet and moist as that encourages fungus or bacteria to enter the plant through the wound, which can lead to rot.
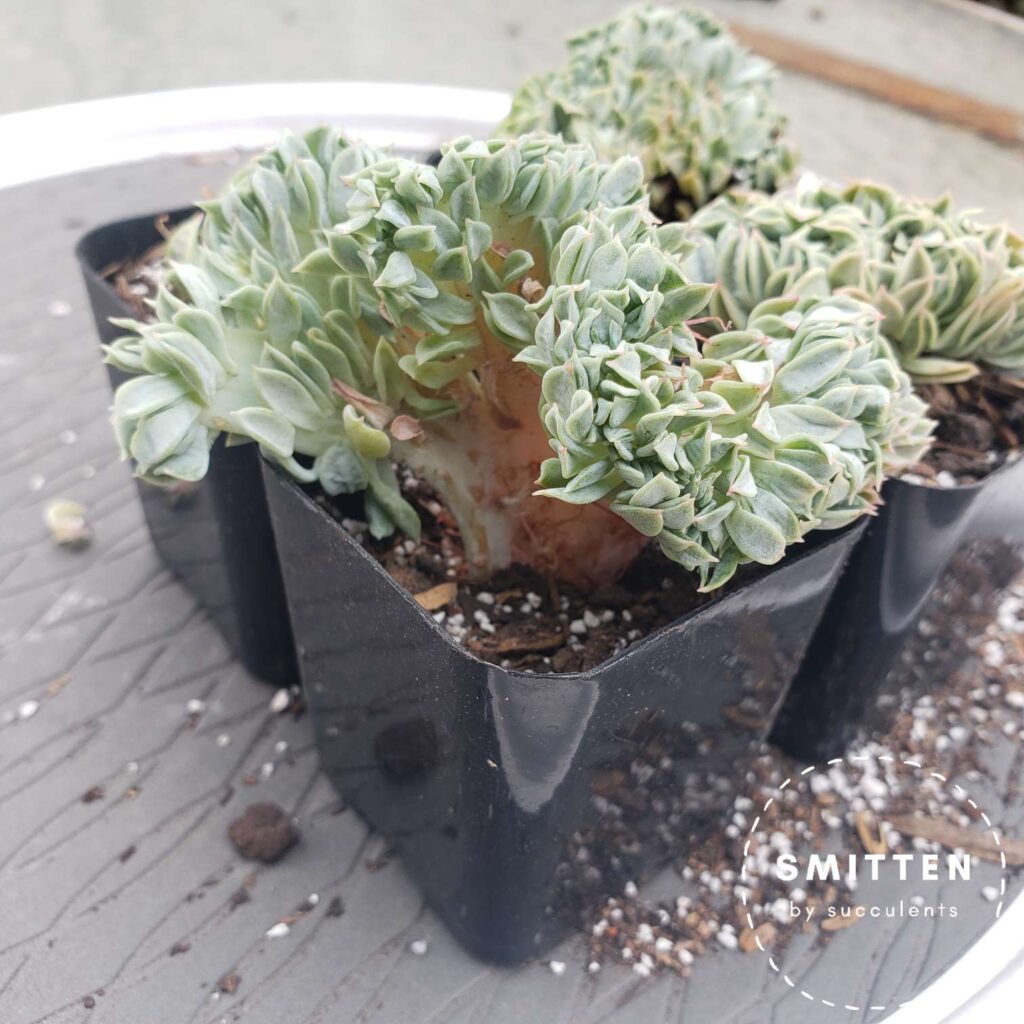
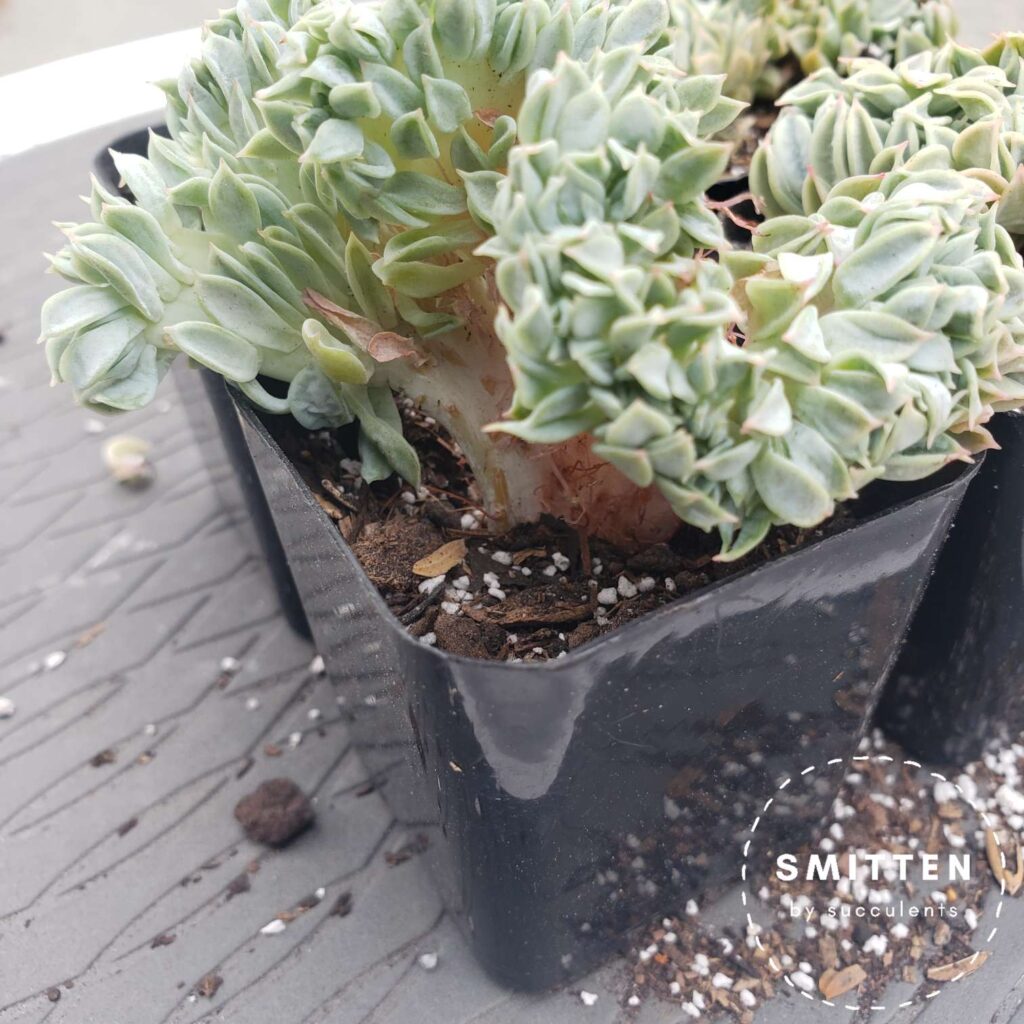
So this is how I took one damaged crested succulent and propagated it into four plants, three of which will continue to be crested.
Have you propagated a crested succulent? Or do you have any questions about doing this? If so, tell me in the comments below!
